A complete guide on how to solder wires together for beginners; after learning, you’ll know how to properly solder wires to a circuit board, solder electrical connectors, solder wires to terminals or metal.
Following is outlining the contents about how to solder:
1. What is Soldering?
2. Soldering Tools
3. Tinning The Soldering Iron Tip
4. How to Solder Wires
5. How to Solder Circuit boards
6. Soldering Safety
7. How to disorder?
What is soldering?
Soldering is a process of melting the solder around metals, components or wires, and when it cools, it will bond them together. A soldering iron to solder two wires together will get a good mechanical connection between the wires without the risk of their disconnection.
Soldering Tools
Before your soldering projects, you should prepare the soldering tools, it just a few basic tools you will need, such as soldering iron, soldering iron tip, solder, soldering iron stand, and brass wire sponge. If you don’t want to buy each tool, you may choose the soldering station with everything you need.
1. Soldering Iron
Soldering iron is the necessary tool used to soldering electrical wires. For beginners in soldering, we recommend you use the soldering iron that is in the 20W-30W range.
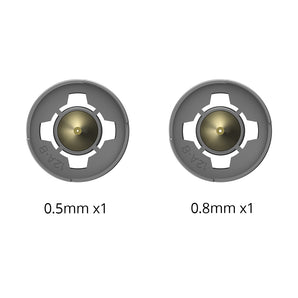
2. Soldering Iron Tip
There are many varieties of soldering iron tips available, and they come in many different sizes and shapes. But the most used tips are the chisel tip and conical tip. These tips you can use for different soldering applications.

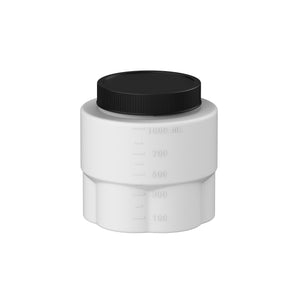
3. Brass Wire Sponge
Using the brass wire sponge to keep the soldering iron tip clean at all times by removing the oxidation that forms. It will help your soldering process become smoother. Also, you can get it instead with the conventional sponge, but the wet sponge will affect the temperature of the soldering tip. So, the brass wire sponge is the best choice.
4. Solder
The solder is another need material when soldering. It is common, used alongside the soldering iron tip, to bonding electronic components or wires together. The lead rosin core solder and lead-free rosin core solder are commonly used on the market. There are ⌀0.032’’ and ⌀0.062’’, two different diameters to choose from. Due to the thicker solder will better for soldering larger wires terminal more quickly but for soldering, smaller joints become more difficultly, so you can use both sizes on hand for different soldering processes.
Note:For health concerns, please keep proper ventilation when soldering, and you’d better wash your hands after use.
Tinning The Soldering Iron Tip
Before your soldering projects, you need to prep heat the soldering iron. It will improve your soldering iron’s heat transfer, help protect the soldering iron tip and reduce wear. You can follow the below steps to tinning the soldering iron tip:
- Make sure that your soldering iron tip is tightly in place.
- Turn on the soldering iron, adjust the temperature in 350℃ to 450℃ range, let it heat up.
- Wipe the tip on the brass sponge to clean it.
- Using the solder, touch to the soldering iron tip to test whether it melts.
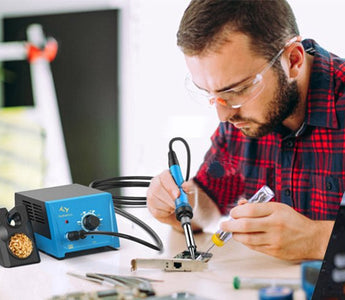
How To Solder Wires Together
Now you have prepared the necessary tools and have been made preliminary works already, and it’s time to start to learn how to solder wires together.
- First, to treat the wires, stripped the insulation from the ends of wires with scissors or knives, and take a necessary bare core.
- Twist wires before soldering. Splicing the strands or filaments of each wire together with your fingers will resist being pulled apart and make your soldering easier.
- You can fix the wires with a clip; this may help you get a better soldering effect.
- Keep the solder touch to the soldering iron tip and wire, and carefully melt it onto the joints of two cores of wires evenly. It will be forming a high-strength, low resistance connection joint.
- Sealing the connection, you can use insulation adhesive tape or heat shrink to cover the connection.
How to Solder Circuit Boards
How to solder wires to a circuit board?
The soldering process is the same as how to solder wires together. Melt a bit of solder on the circuit board first, then to hold the wires touch on the part where you want to solder, place the soldering iron tip between wires and circuit boards, melting the solder again, until you solder wires to the circuit board, for a few second remove the soldering iron.
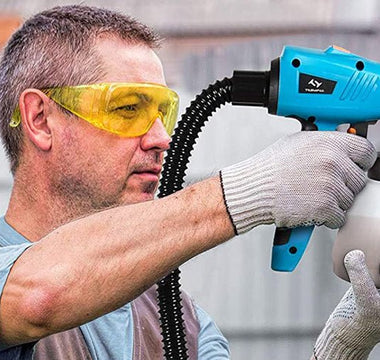
Soldering Safety
Since of the high temperatures of the soldering iron, you should always be careful while soldering. Here we recommended you use the soldering iron station, which can help prevent accidental burns. If conditional, you’d better wear goggles to prevent splashes of hot solder. And ensure to keep a well-ventilated area when you’re soldering, you can use a fume extractor to make the fumes away, which released by heated solder.
How to solder?
When you solder an LED or electronic component on a circuit board, sometimes, you may get a bad result and want to make a correction or remove them. Fortunately, there is a technique known as disordering will help you achieve it. But before disordering, you’ll need a solder sucker and solder braid wick.
- Place a piece of the solder braid wick on top of the circuit board where you want to remove it.
- Heat the soldering iron, then touch the tip to the top of the solder braid wick; this will heat the solder below into the solder braid wick, then you remove it to see if the solder has been removed.
- If you want to remove lots of solder on the circuit board holes, you need to use the solder sucker. Press the trigger button down, heat up solder on the circuit board hole with your soldering iron until melted, then place the nozzle of the solder sucker next to the melted solder and press the release button; repeat this process if necessary.
Hope this guide can help you get a complete understanding of how to solder wires together or solder wires to a circuit board.

